Showing posts with label antique. Show all posts

Wednesday, 28 February 2018

For the love of the Muff (part 3)

When I made my first muff in 2006, there were not many patterns available and very little information on the internet. I made a muff and cape set from an old faux fur coat from my husbands maternal grandmother.


Some years later, after purchasing this vintage/antique muff, I gave the cape and the muff to a friend.


When friends gave me a vintage 1950's/1960's polar fox stole (without head) I immediately knew I wanted to turn it into a white muff. To go with this jacket and hat! Although my trusty black muff looks quite well as well!


As I have always been happy with how my first muff turned out I used the same description which I found in 2006 floating somewhere on the internet.

"...I have some muffs from this period and they are made thus:
Make 2  tubes of muslin cut about 13/14" x21", one should be about 2" less
than the other.Stitch one end together and make a 3/4" chenille for elastic,
and fill with feathers (or you may opt for heavy poly quilt filler)Stitch
the open end; make a chenille as in the other end .
(you may wish to sew satin facings of about 6" oh each end of the inner bag
as the lining might show.
Cut and thread 2 pieces of elastic about 10" in the ends
Make a second (well, third) tube of fur, chenille, or other fabric of your
choice about 1" less than the tube already assembled, and cover the inner
piece.
Add a handle on one end, of silk braid or rope.
Embellish with tassels to taste...
"

I couldn't find the original source anymore but wanted to share this with you anyway because I found it really helpful. If you wrote this or you know who wrote this please let me know. I would be very happy to give you credit!

I did make some small changes when I made my second muff. For the first I used heavy poly quilt filler. To make this muff a little more historically accurate I used kapoc, a natural plant fibre. Which was oftend used in pillows and muffs. It has the added bonus that is not only more historically accurate but also warmer! 


The tubes where made from scraps of white cotton. The invisible one is striped, the visible one a nice satin weave.


I also decided to add a pocket. I had no idea how to do it and I am really bad at just winging it. So I decided to call in the cavalry in the shape of a workbook by Historical Sewing, the Faux Fur Muff pattern. I was very easy to follow and had very clear instructions, if you are thinking of make your own muff this would be a wise investment.

After putting the lining together it looked like this, in front of the lining is the polar fox fur.


You see that the tube has been filled but not sewn shut yet. Note: make sure you put in enough filling so that it can stand on a side without collapsing.


My new white muff turned out a little bigger than my vintage/antique black one. Although I suspect most of it is due to the fur being longer!


All in all it took about a week to complete this project and I am really happy with how it turned out!

Why the pocket in the muff, you might ask. It can be used for a wallet or a mobile phone but I use it to hold a hand/muff warmer.


My very small collection of vintage and antique muff warmers (small hot water bottles).

Unfortunately only one of them still works! The copper muff warmer leaks and the antique pewter muff warmer doesn't open anymore. And as hot water is in short supply at most of my Victorian themed events, I cheat and use a modern zippo handwarmer, which stays warm for 12 hours. This type of handwarmer was invented in 1923. 


Not just hot water bottles were used in the Victorian  and Edwardianera but also small charcoal burners, like these:

Visit for more information and pictures.


Interesting read.


Both are still available!

So Ladies no need for cold hands, let's keep them warm in style!


Wednesday, 12 July 2017

Chemisettes and undersleeves

The last three or four months I've been working more hours, something that makes me really happy because I love my work. I work with childeren which I think is the best job in the world(but maybe also the most tiring)! The only down side is that I have less time to work on my costumes and blog. Which is the reason why I haven't posted for so long. I have done some work on costume projects but progress is painfully slow.


I had made this cotton batiste chemisette some years ago. I had some fabric left over and decided to make a set of undersleeves to go with it. For both the chemisette and the engageantes I used Truly Victorian 104, the bustle era Collars and cuffs pattern. The set will (also) be worn with my crinoline era dress but I was too broke to buy the Truly Victorian 149, 1860's Chemisette and undersleeves pattern. Which I think is really lovely, so good chance that I will end up making another set of undersleeves for this costume one day! If I do this set will still be of good use as I have several 1880's costumes to wear them with anyway.


I also made another set of cotton chemisette and undersleeves, with the same pattern, earlier this year. I repurposed the antique/vintage lace from my very first Victorian collar and sleeves. The red flannel petticoat in the picture is also new. I don't like the drawstring, too much bulky fabric beneath the waistline of my dress, so I will change it into a petticoat with waistband and maybe add some tucks at knee level, eventually.


I also added a set of sleeves to this chemisette. Something I had been wanting to do for three years now! The sleeves still need to be overdyed with black dye to (hopefully) match the colour of the chemisette.

I still have one lovely antigue lace collar waiting to turn into a chemisette but this will have to wait. I have other costume projects which have a higher priority. Among them are making adjustments to my son his fantastic beast coat, making a Victorian coat for my husband and a red woollen pork pie hat for myself.

I had planned to make myself a Belle Epoque outfit this year but I just don't think I have the time or energy for it and my husband and son practally begged me not even to think about starting working on it this year. Something to do with a November/December without having to deal with me having costuming stress. (I actually think it's the same thing as me not wanting my son to game 24/7 when he has a school holiday. Not gonna happen!) So this means that I will have to wear the same outfit to both my Victorian events this year, can you imagine the horror! 😉

And this is what happens when you have a day of, it's nice weather and you can't decided between sitting outside and enjoying the sunshine or working on your costuming project.

Hurray for my Singer 99k from 1952!


Friday, 5 February 2016

Ode to Dutch Fashion/Ode aan de Nederlandse Mode

Being thoroughly fed up with working on the house and not doing any costuming related things. I decided it was time for a treat and went to the Ode to Dutch Fashion exhibit in the Gemeentemuseum in Den Haag with a friend. Ode to Dutch Fashion features more than a hundred creations from the history of fashion in the Netherlands from 1900 to 2015 with some much older pieces. Although my main interest is historical fashion, which will become apparant when you see my pictures, I had a really great time.
I forgot to the photograph a lot of the information provided with the costumes. That is why it is missing under a lot of the pictures. Just enjoy and do a game of guess the era! ;-)


Silk dress 1826-1827

Silk dress 1850-1855

Female Jacket 
ca. 1770-1780
Chintz with linen lining

detail of quilted skirt.

 Corset, 18th century, silk, linen with boning
Skirt, 1750-1800, quilted silk

Jacket ca. 1800-1850
Wool damask, metal

Silk dress, Robe ajustée
ca. 1765-1775

Wool damask skirt 18th century

Dress and cape worn by Her Majesty Queen Maxima,
at the investiture of His Majesty King Willem Alexander,
30th of April 2013


(l) Silk cocktail ensemble by Maison Kuiper, Zeist, 1966
(r) Wool ensemble by Koos van den Akker, 1966


A very inspiring 1970's crochet dress.
Fun idea but I think I'll pass.

This is a contemporary design 
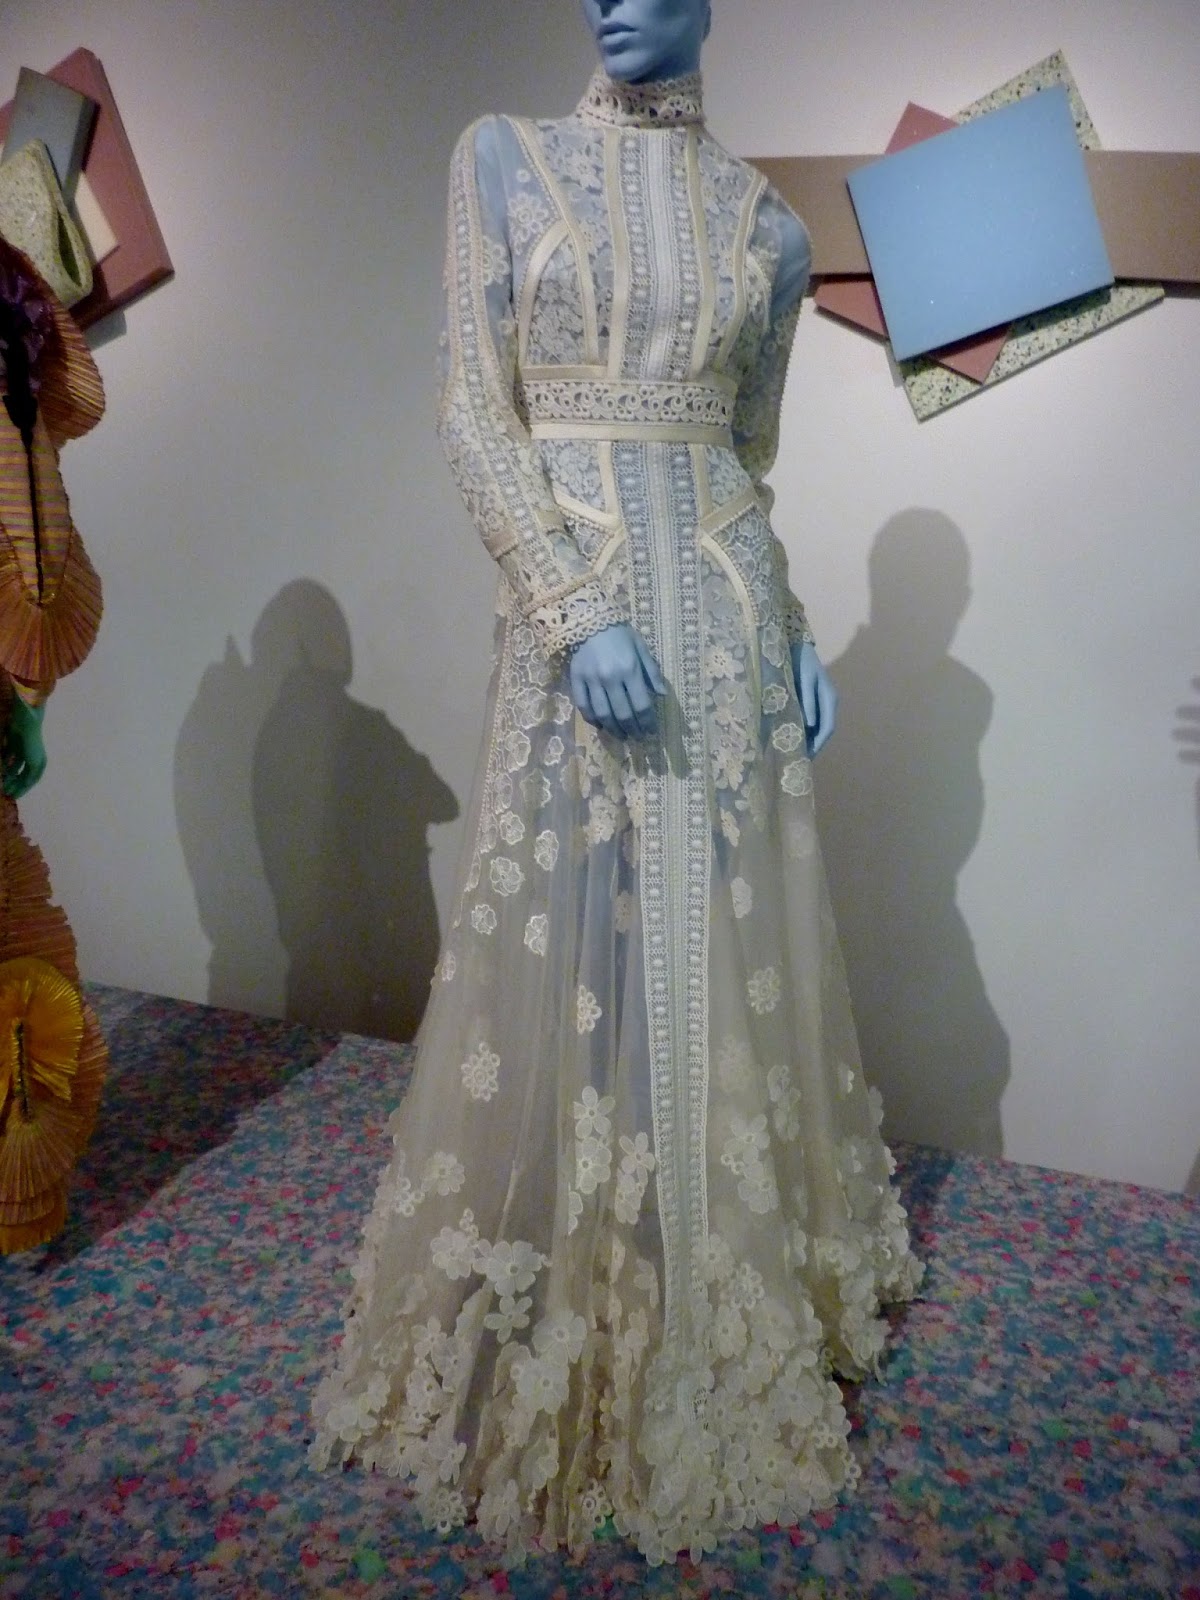
and I loved the Edwardian feel.

Looks good on me, doesn't it! ;-)

The museum also provided some costumes you could try on and ofcourse I couldn't resist a chance to play dress up.


It was a one size fits none dress and the bustle was way to low but trying it on was great fun.


Sunday, 11 October 2015

A Vintage Singer 99k sewing machine

A while ago I bought a Singer 99k, I've always wanted an antique looking sewing machine but never knew what make and model. Until I came across this Singer 99, it is the little sister of the Singer 66. She is only 3/4 the size of her bigger sister and weights less which makes her a little more portable than a full scale sewing machine. A feature my husband is particularly grateful for as I want to use it at 19th century events and he will be most likely the person ending up carring her around. She was born, a term they really use at the Singer website, on the 24th of September of 1952. Something that was clearly visible when I got her.


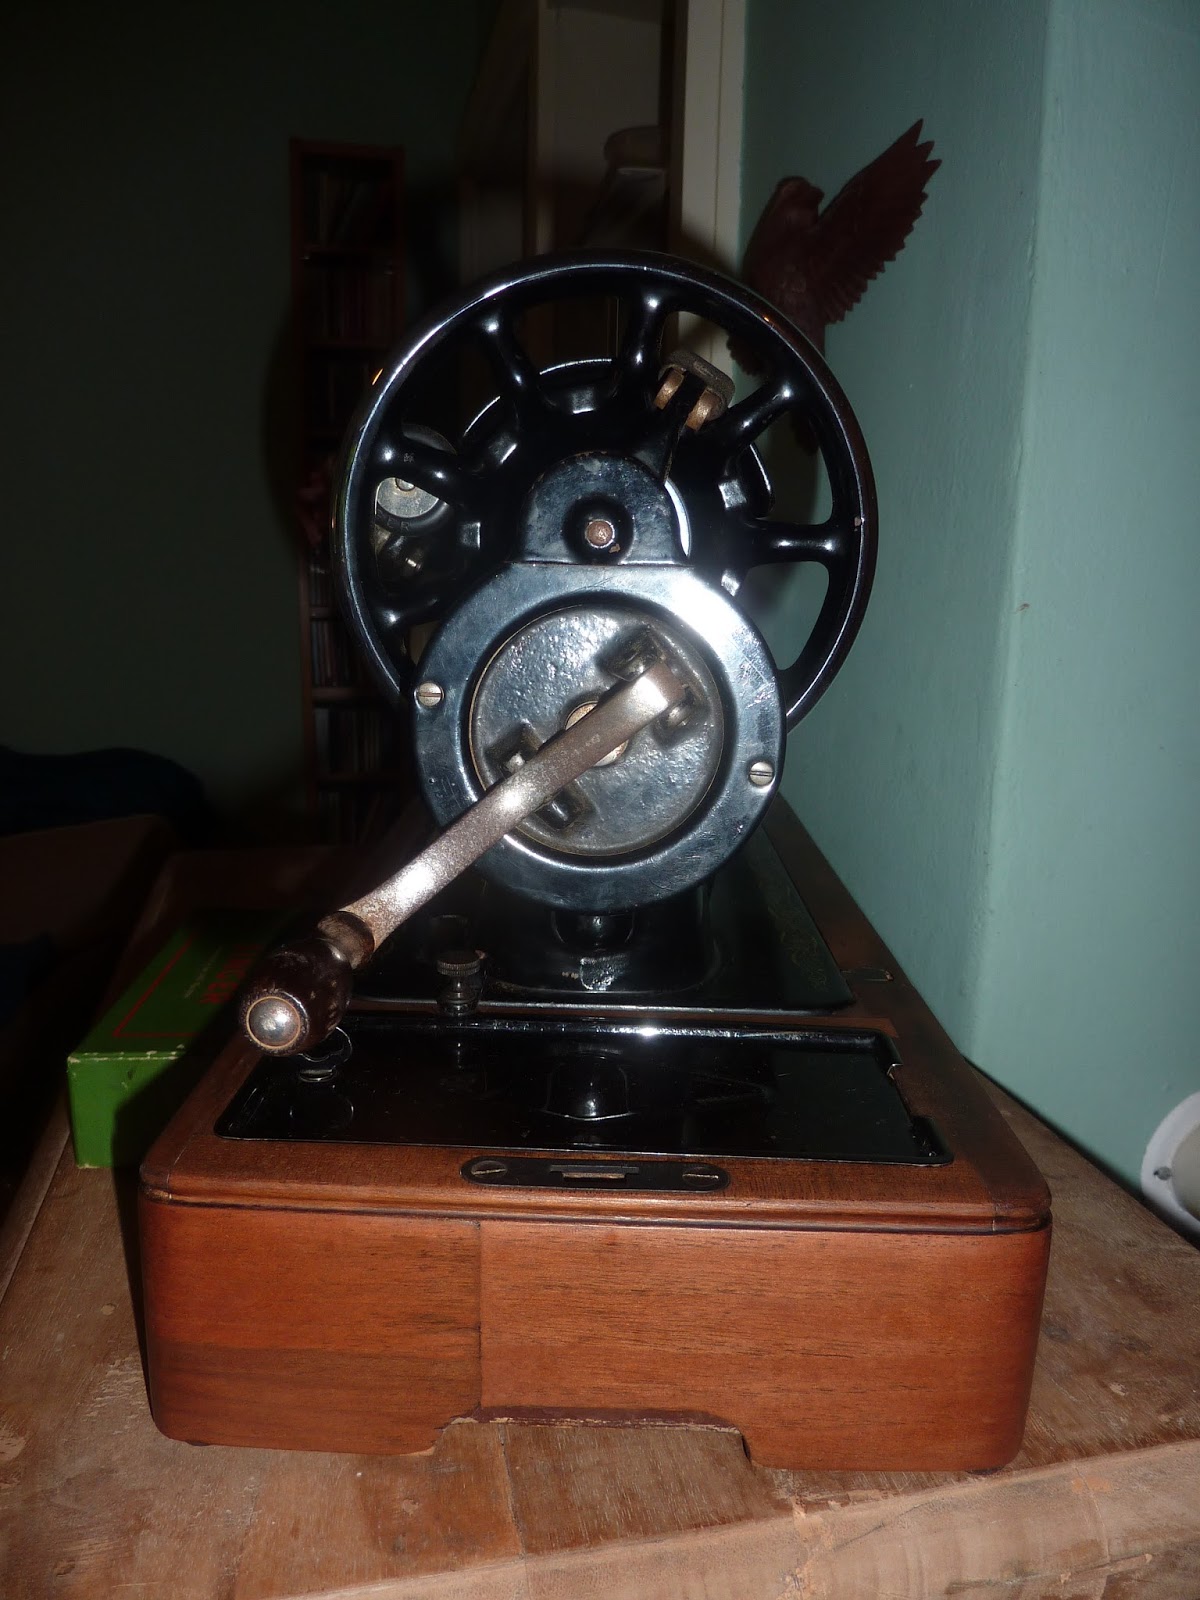
She came in the 1950's faux crocodile skin carrying case, a motor, footpedal and light and with the "modern" faceplate. The carrying case is very practical it protects my machine during transport.  I absolutely love the motor, foot pedal and the light. This means that I have two machines for the price of one. I can use it at home with all the modern conveniences and at an event as a hand crank machine. We only need to loosen two screws to change it!


So I bought an original  hand crank on Ebay and took the motor, foot pedal and the light off.

1950's faceplate
I also bought the old version of the faceplate to make her look older. Plastic surgery reversed!

1911-early 1950's


The old lacquer of the wooden bases had been badly damaged through the years. We sanded it down and waxed it.

She didn't come with any accessories, so I bought a original 1950's  99k box with a lot of different sewing feet and a seam guide.


 Now she looks exactly like an older version from 1911 and is ready to attend her first event!

For safety reasons in time the motor, foot pedal and light will be fitted with new black electrical cords. Now it is time for me to start practising sewing with a hand crank machine.